Beta feature: API key management is currently being rolled out progressively. If you don’t see the API option in your profile menu, it means this feature hasn’t been enabled for your account yet. No action is needed, it will become available as the rollout continues.
- How to access the API section
- How to generate a new API key
- How to manage your existing keys
- Security best practices
Prerequisites
Before generating an API key, make sure you have:- A verified Roxom account with completed KYC
- At least one security method configured (Passkey or Authenticator App)
Access the API section
- Click your profile icon in the top-right corner of the screen
- Select API from the dropdown menu

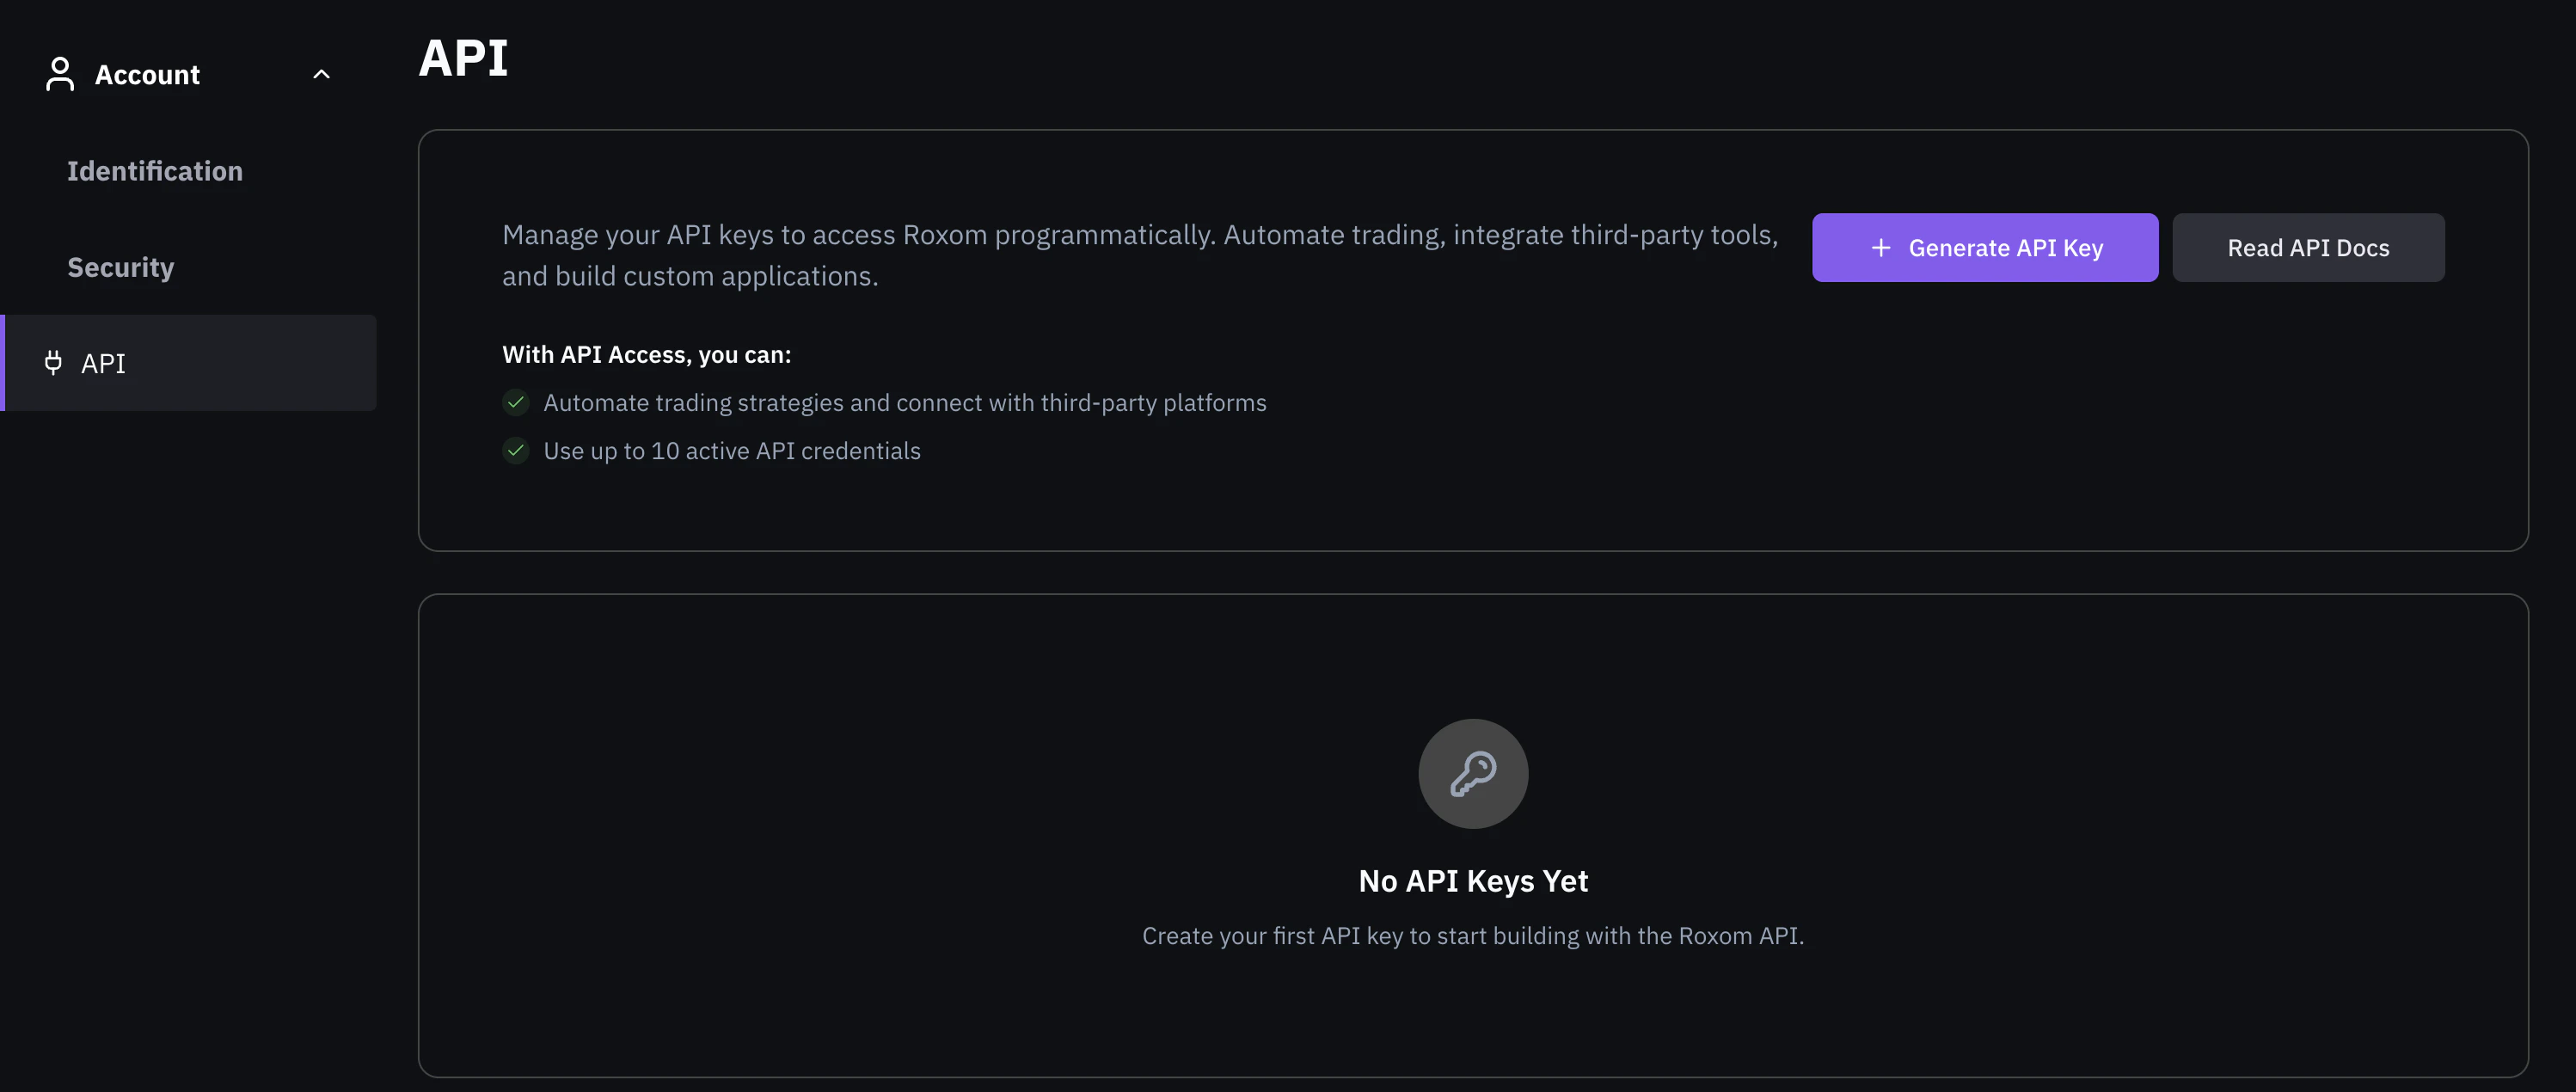
Generate a new API key
- Click + Generate API Key
- In the modal, enter a name for your key (e.g., “Trading Bot”)
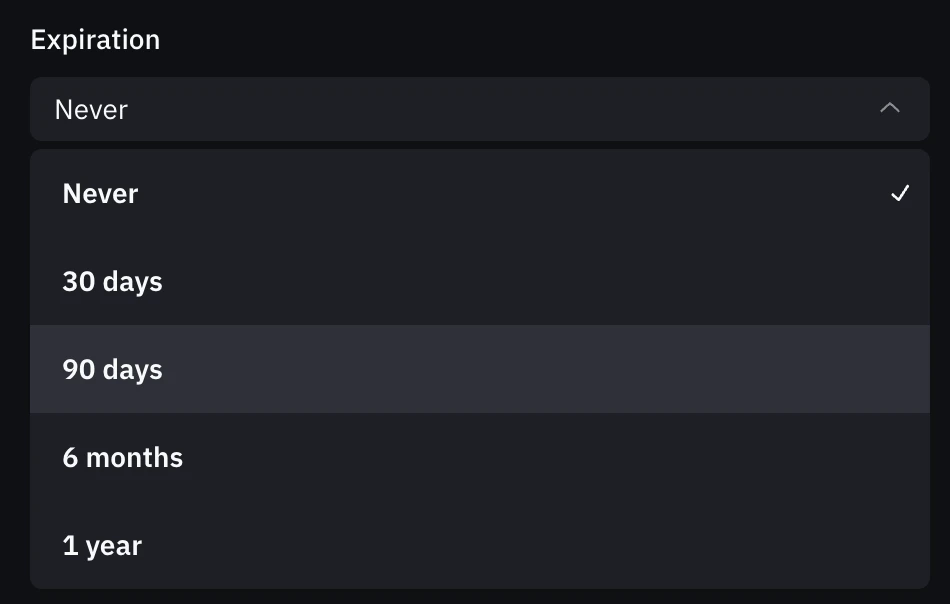
- Choose an expiration period:
- Never (no expiration)
- 30 days
- 90 days
- 6 months
- 1 year
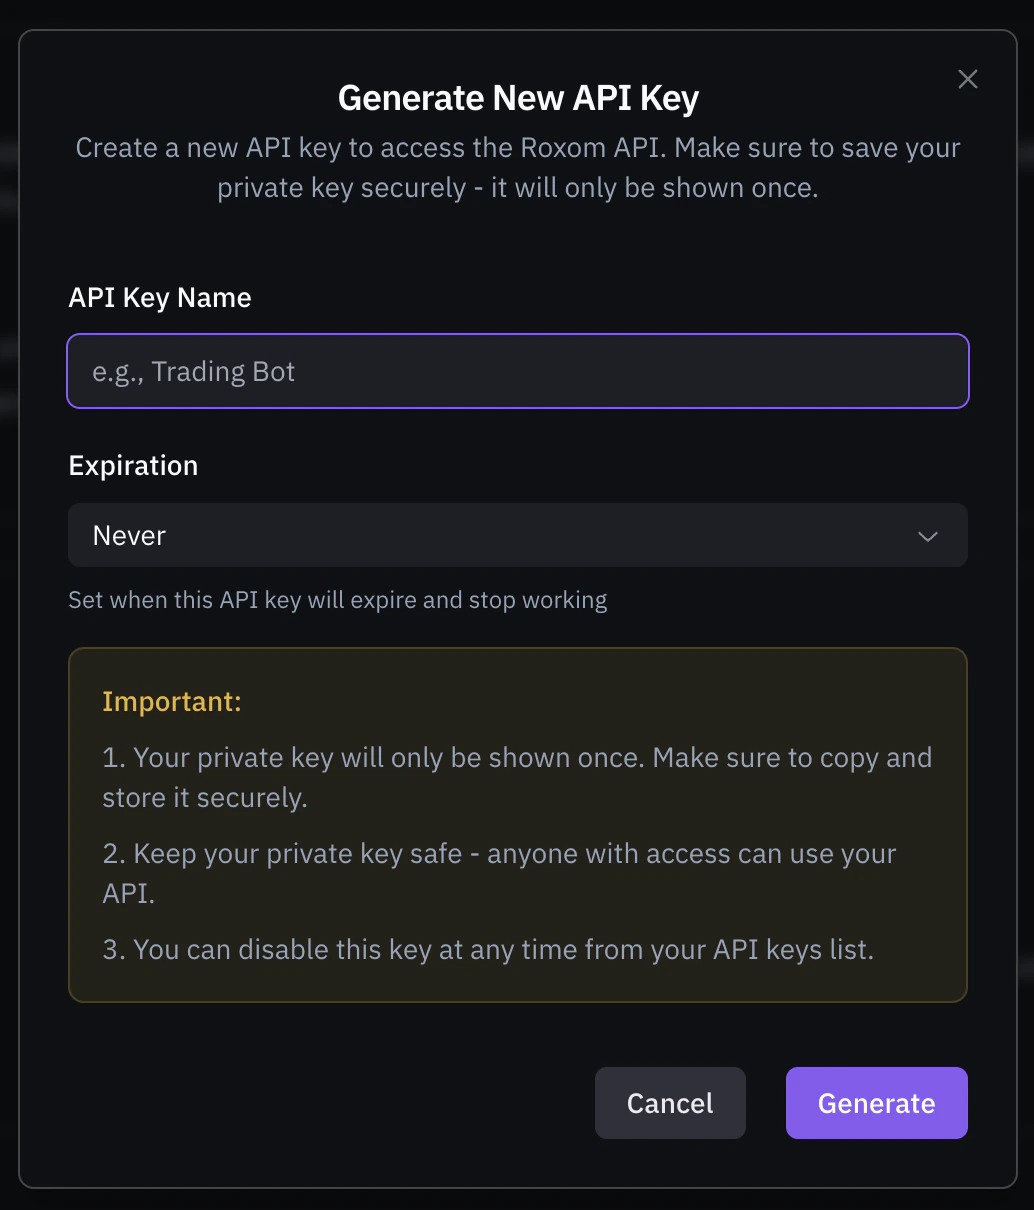
- Click Generate
- Verify your identity using your configured security method (Passkey or Authenticator App + email code)
- Save your private key: it will only be shown once
Manage your API keys
Once created, your API keys appear on the API management page. Each key shows its:- Name and status (Active/Disabled)
- Key ID (e.g.,
rxk_key_83b3...) - Created date, last used date, and expiration

Available actions
From the three-dot menu on each key, you can:- Rename: change the display name of the key
- Disable: deactivate the key without deleting it
Security best practices
Store your keys securely
Store your keys securely
- Use environment variables to store your API key and private key
- Never commit keys to version control or share them in public repositories
- Never share your private key with anyone, Roxom will never ask for it
Use expiration dates
Use expiration dates
- Set an expiration date for keys used in temporary integrations
- Rotate keys regularly as part of your security policy
Monitor key usage
Monitor key usage
- Check the last used date to identify inactive keys
- Disable keys that are no longer in use
Next steps
Once you have your API key, you’re ready to start building:Authentication
Learn how to sign your API requests using your private key
API Reference
Explore the full REST API documentation